
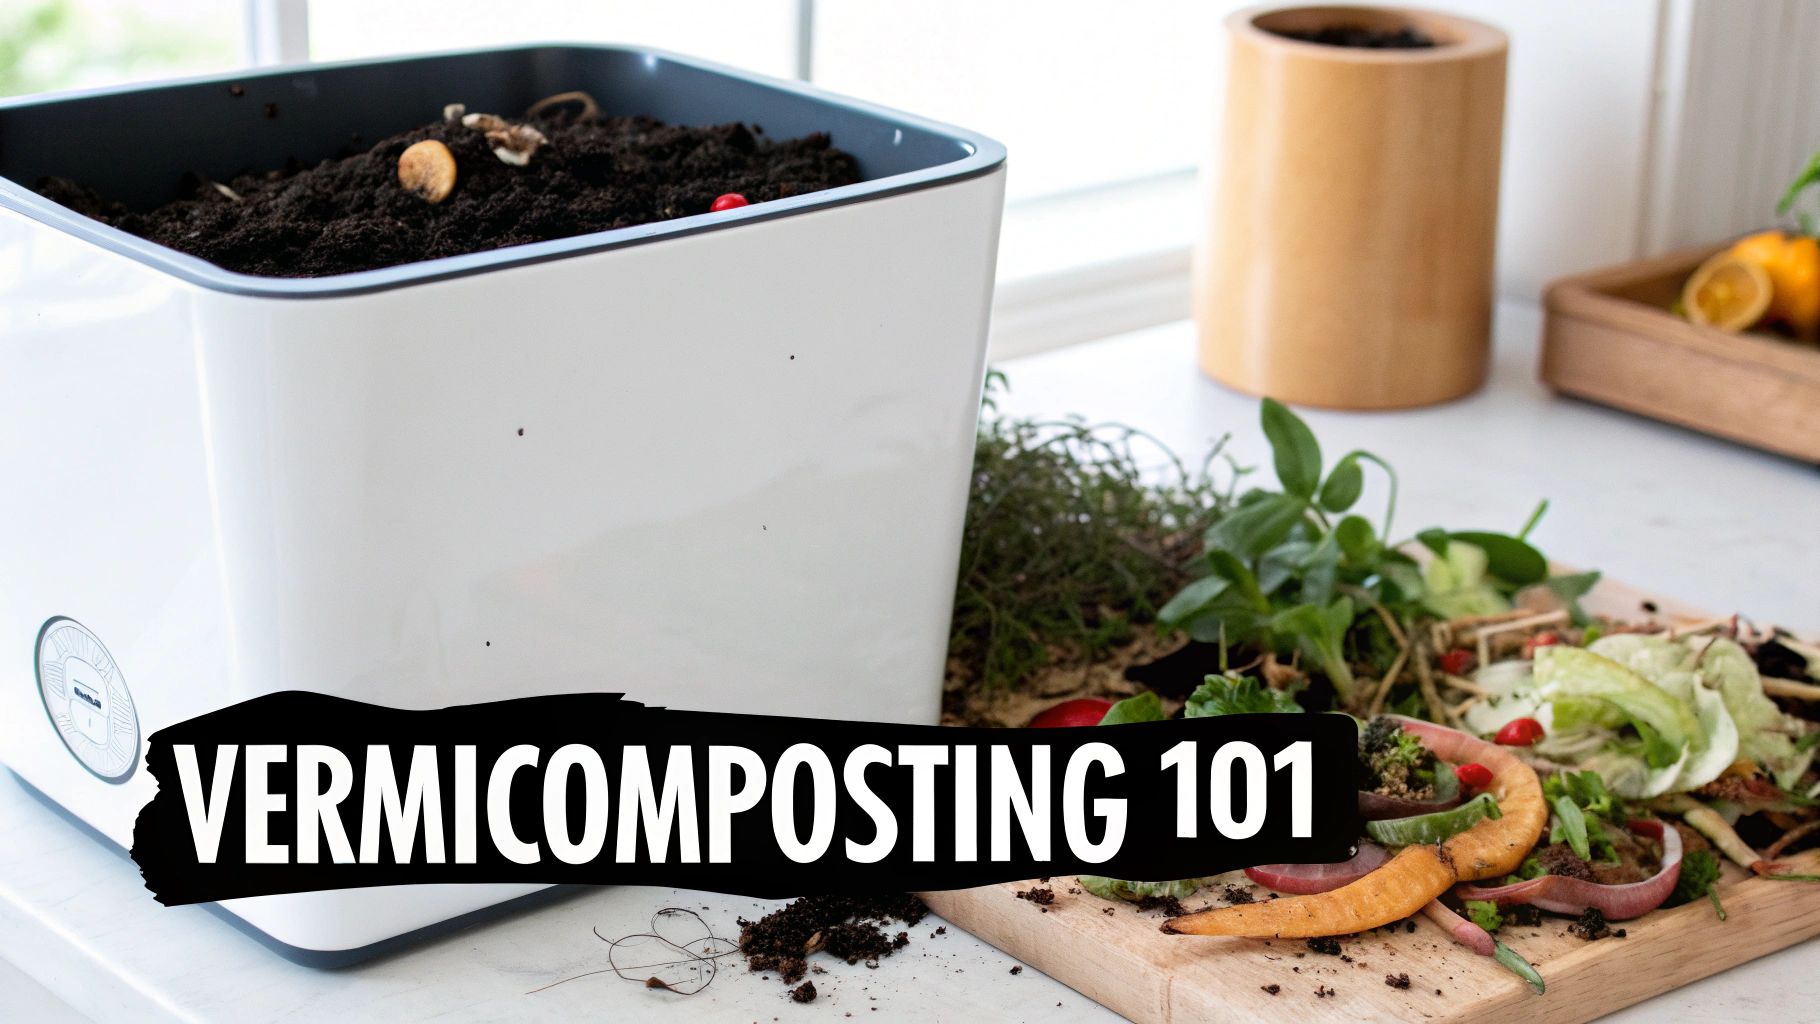
What Is Vermicomposting? Your Ultimate Guide to Turning Waste into Garden Gold
Imagine having a tiny, tireless recycling crew that works in your home 24/7, turning your kitchen scraps into a superfood for your plants. That's the magic of vermicomposting. It's a surprisingly simple, completely odor-free, and incredibly powerful method that lets special worms transform your waste into the richest fertilizer imaginable.
Your Guide to Effortless Home Composting
Think of vermicomposting as a brilliant partnership with nature. Instead of tossing fruit peels, vegetable ends, and coffee grounds into the trash to be buried in a landfill, you’re offering them to a dedicated team of composting worms. These worms live in a specialized container, or worm bin, right in your home.
The worms do all the work. They eagerly consume the organic material, digest it, and transform it into what gardeners everywhere call "black gold." This final product is vermicompost—a potent, nutrient-dense fertilizer loaded with beneficial microbes that will make your plants flourish like never before.
This method is far simpler than it sounds and relies on just a few key elements working in harmony. If you're exploring your options, our complete guide on how to compost at home is the perfect place to start.
At its heart, vermicomposting is about creating the perfect environment for worms to do what they do best: recycle. When you get the conditions right, the system practically runs itself, demanding very little effort from you but delivering incredible rewards.
Core Components of Vermicomposting
To show you just how straightforward this is, let's break down the essential parts of any successful vermicomposting setup.
Vermicomposting at a Glance
This table sums up the four basic building blocks you'll need to create your own composting powerhouse.
| Component | What It Is | Simple Example |
|---|---|---|
| Worms | The tireless recyclers at the heart of the system. | Red Wigglers (Eisenia fetida) are the undisputed champions. |
| Bedding | The carbon-rich habitat that keeps your worms happy. | Shredded newspaper, cardboard, or coconut coir. |
| Food Source | The organic kitchen scraps you feed the worms. | Vegetable peels, fruit cores, and used coffee grounds. |
| Bin | The container that houses your thriving ecosystem. | A simple plastic tote or a purpose-built, multi-tiered worm farm. |
Once you have these four components in place, you're not just composting; you're creating your own endless supply of the world's best all-natural fertilizer.
Meet Your Composting Worms
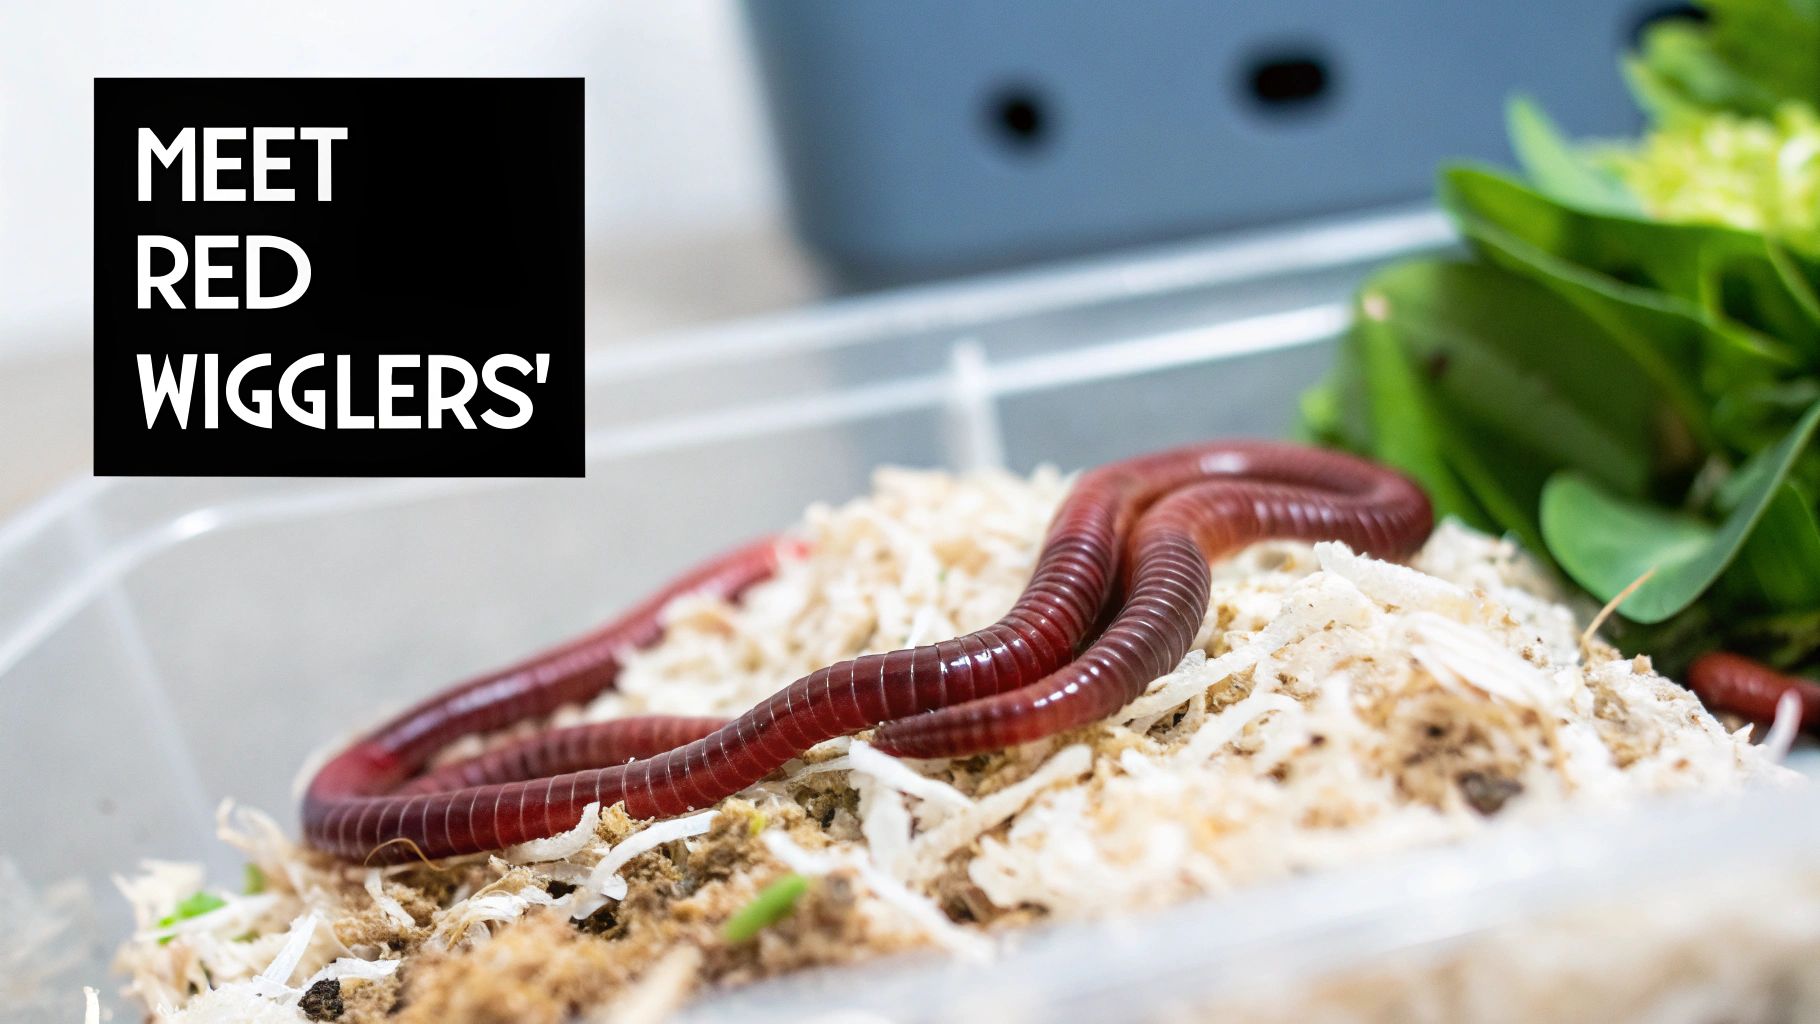
Before you begin, it’s crucial to understand that you can’t just dig up any old worm from your garden. Common earthworms are fantastic for aerating soil, but they simply won't survive in a compost bin. They are deep burrowers, not surface feeders.
For this specific mission, you need the all-stars of the composting world. These specialized breeds thrive near the surface and absolutely love feasting on concentrated organic matter, like the food scraps you’ll be providing. They prefer a rich pile of decaying material to burrowing deep into the dirt, making them perfect for bin life.
The Best Worms for the Job
The undisputed champion of vermicomposting is the Red Wiggler (Eisenia fetida). These little powerhouses are born for this. Under the right conditions, they can devour up to half their body weight in food every single day. They reproduce quickly and are perfectly content living in the close quarters of a bin.
A few other species can also get the job done:
- European Nightcrawlers (Eisenia hortensis) are larger and double as excellent fishing bait.
- Indian Blues (Perionyx excavatus) are fantastic composters for warmer climates but can be sensitive to environmental changes.
Choosing the right worm is the single most important decision for a successful bin. Red Wigglers are the gold standard for a reason—they are resilient, incredibly efficient, and stay put, making them the perfect, foolproof choice for beginners.
Creating a Happy Worm Habitat
Your new composting crew is low-maintenance, but they do have a few non-negotiables to stay happy and productive. The secret to a thriving, odor-free bin is simply creating a stable and comfortable home for them.
Worms need a moist, dark, and temperate environment. The ideal temperature range is 15–25°C (60–80°F), which is why keeping your bin indoors is often the easiest and most effective option. Their bedding must remain damp—like a wrung-out sponge—because they breathe through their skin and require moisture to survive.
If you're interested in other ways insects can help with waste and provide nutrition, this guide on Dried Black Soldier Fly Larvae offers some fascinating insights.
So, What's the Big Deal with Vermicompost?
Sure, vermicomposting is a fantastic way to shrink your kitchen waste pile, but that's really just the beginning of the story. The real payoff is the incredible stuff you get at the end: vermicompost. This isn't just dirt; it's a living, breathing soil amendment that can completely change your garden.
Think of it as a super-charged probiotic for your soil. This dark, rich material is packed with beneficial microorganisms that help your plants develop stronger immune systems. The result? They become far more resilient against common pests and diseases, meaning you get healthier plants without reaching for harsh chemical sprays.
Build Better Soil and Water Less
One of the first things you'll notice is how vermicompost physically transforms your soil. Its light, crumbly texture works wonders on compacted ground, creating tiny air pockets and channels that allow water to soak in and reach plant roots where it's needed most.
This improved soil structure also acts like a sponge. In fact, research shows that adding just 10% vermicompost can help soil hold onto 40% more water. For anyone who gardens, that means less time with the hose and plants that can better withstand those inevitable dry spells.
The true genius of vermicompost is that it does two jobs at once. It directly feeds your plants with a slow-release buffet of nutrients while simultaneously rebuilding the very foundation of your soil for long-term health.
A Nutrient-Rich Feast for Your Plants
Vermicompost is loaded with nutrients in a form that plants can use right away. Unlike synthetic fertilizers that can easily wash out of the soil or even burn your plants, vermicompost delivers its goodness slowly and steadily. This consistent supply helps your plants grow stronger, produce more brilliant flowers, and give you bigger harvests of fruits and vegetables.
The benefits are so well-documented that vermicompost is gaining serious traction, with studies consistently showing its power to improve soil, boost nutrients, and reduce our reliance on chemical fertilizers. You can see this trend growing and discover more insights about the vermicompost market on news.market.us.
Ultimately, when you turn your food scraps into this "black gold," you're making your own high-end fertilizer for free. At the same time, you're doing something great for the planet by keeping waste out of landfills, which cuts down on methane—a powerful greenhouse gas. It's a simple, rewarding cycle that benefits you, your garden, and the environment.
Setting Up Your First Worm Bin
Diving into vermicomposting is way easier than you might think. Your first job is to set up a cozy home for your worms. You’ve got options here—anything from a simple DIY plastic bin to a fancy tiered system designed for easy harvesting will work. Just make sure whatever you choose has good drainage and plenty of air holes.
Next up is the bedding. This is the foundation of your worm habitat, and it needs to be fluffy, absorbent, and damp without being soggy. The right bedding gives your worms a safe place to burrow, breed, and get to work.
Preparing the Perfect Home
Creating the perfect bedding is simple. You’re aiming for the consistency of a well-wrung-out sponge—moist, but not dripping.
Here are some fantastic materials to use:
- Shredded Newspaper or Cardboard: You probably have this lying around already. It's free, effective, and worms love it. Just stick to the black-and-white print and avoid the glossy, colored sections.
- Coconut Coir: This stuff is a moisture-retaining superstar. It provides a great, airy texture that helps prevent the bedding from getting compacted.
- Aged Leaves or Straw: If you can get your hands on some, these are great for adding extra organic goodness to the mix.
Once you’ve picked your materials, just add water until you hit that damp-sponge feel. Then, fill your bin about three-quarters of the way up, leaving plenty of room for your new residents to move in.
Pro Tip: Toss in a handful of soil from your garden or a bit of finished compost. This introduces a whole ecosystem of beneficial microbes that will jumpstart the composting process and help the worms settle in faster.
With the bedding prepped, it's time to add the worms! Gently place them right on top. They don't like light, so if you leave the lid off under a lamp for an hour or so, they’ll naturally dig their way down into their new home.
Finally, it's time for their first meal. Start small. A few chopped-up veggie scraps buried just beneath the surface of the bedding is all they need. To make gathering scraps a breeze, you can learn more about managing kitchen waste by using compostable bags for food waste.
This infographic shows just how your efforts create a positive cycle, benefiting everything from the soil to the planet.
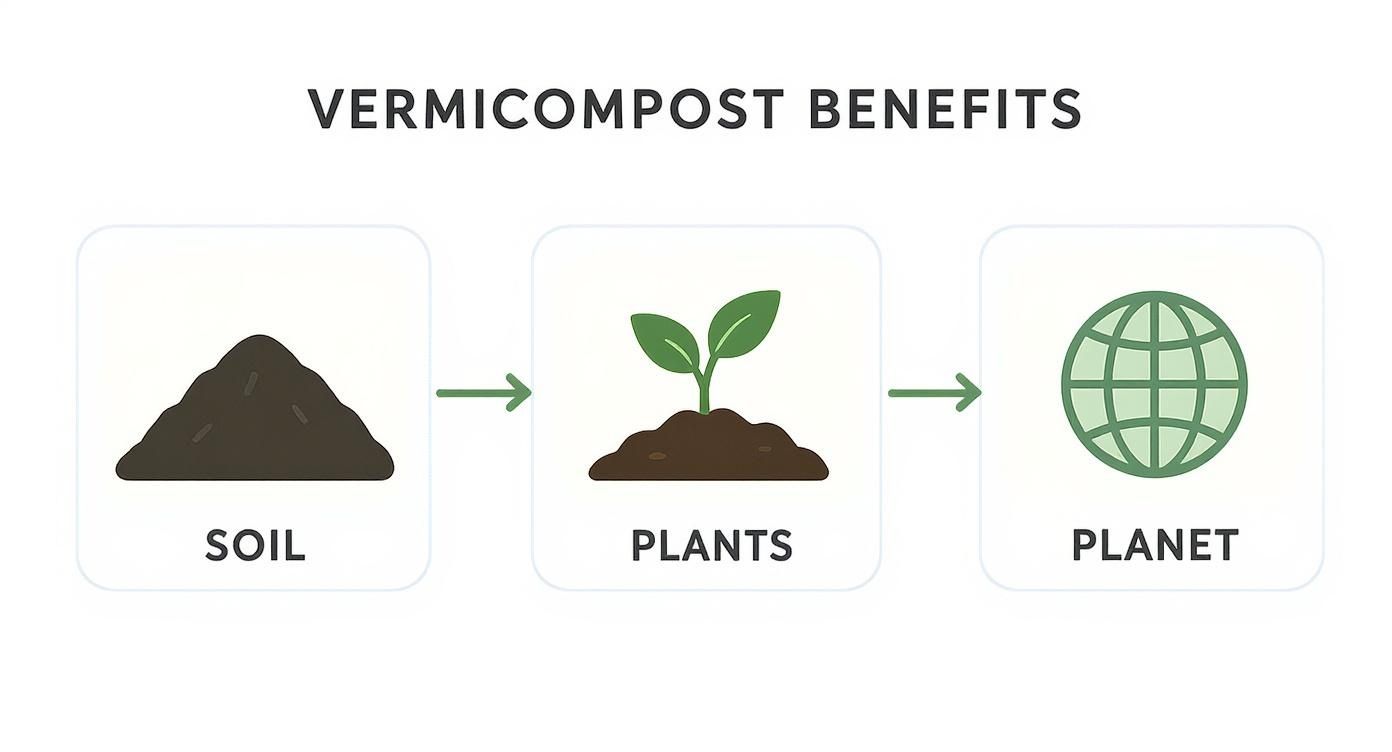
It’s a simple but powerful loop: healthy soil grows stronger plants, and stronger plants contribute to a healthier planet.
Creating the Perfect Worm Diet
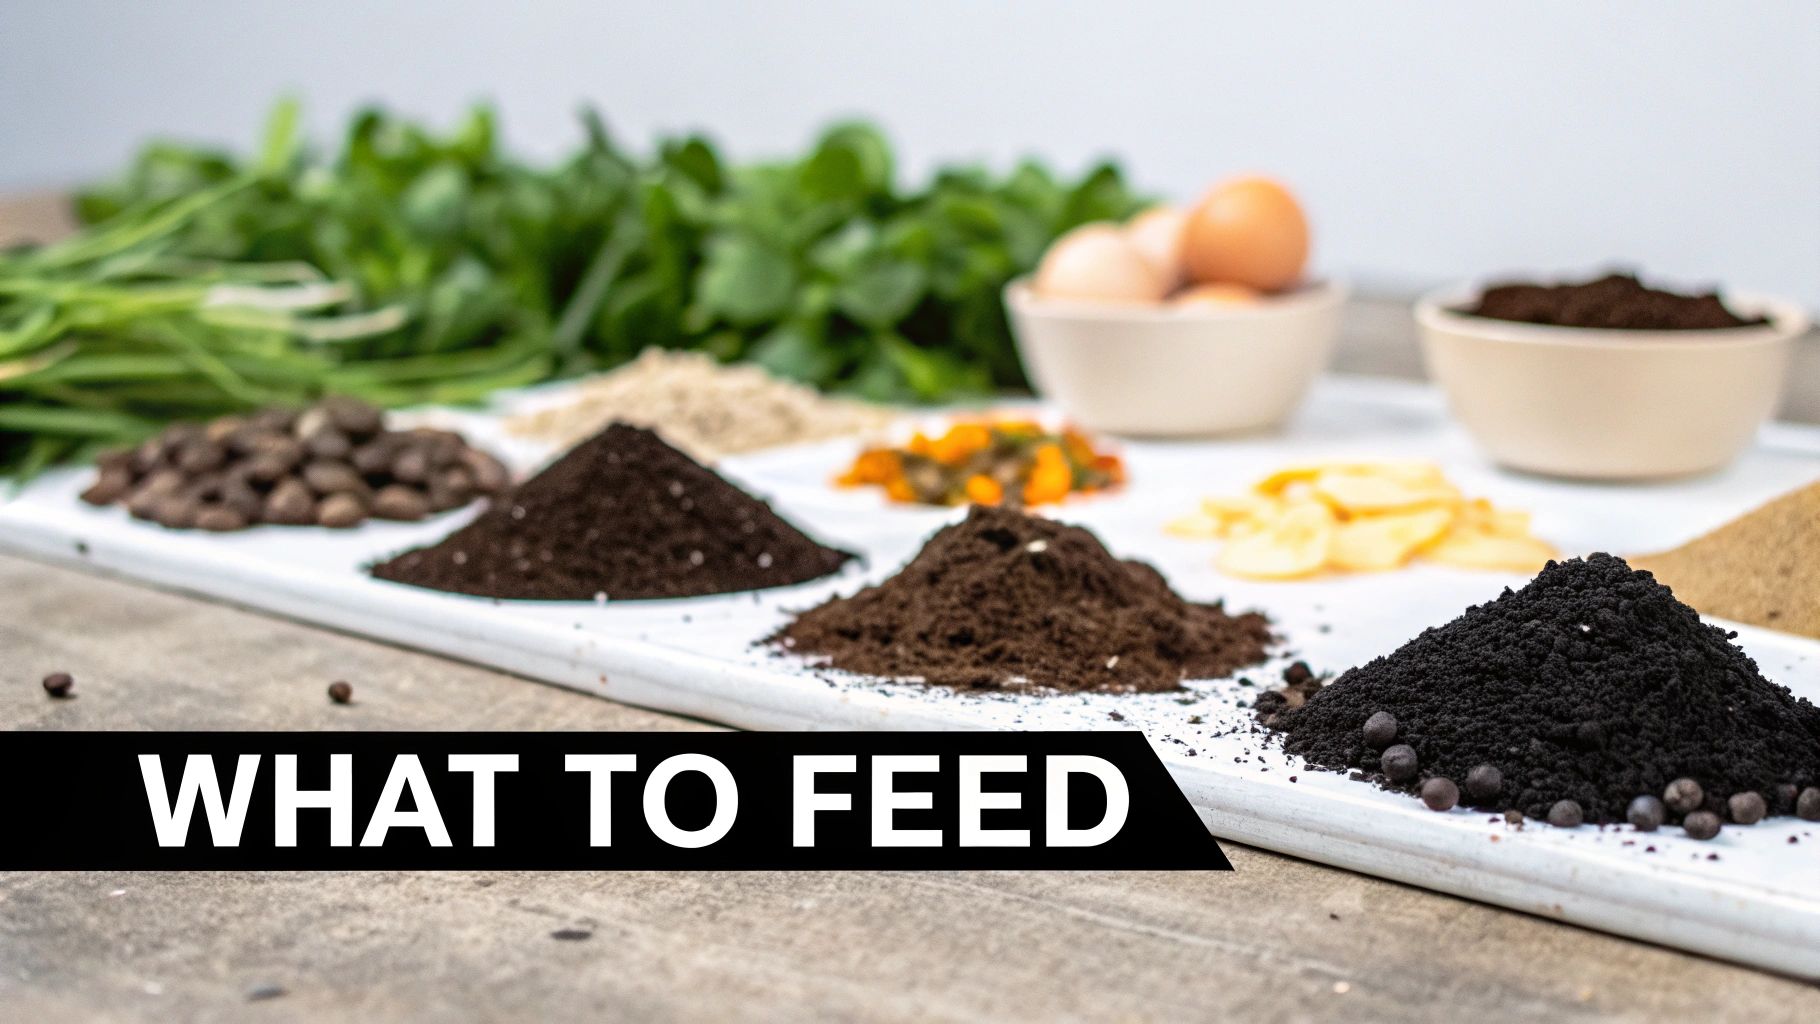
Getting the diet right is the secret to a happy, productive, and smell-free worm bin. The best way to think about it is that your worms are simple, consistent eaters. They thrive on a steady supply of raw, plant-based goodies that are easy for them to break down.
Your go-to foods will be fruit and vegetable scraps. Things like apple cores, banana peels, coffee grounds, and old lettuce are perfect. Even tea bags (the paper kind!) are a great source of nitrogen for your finished compost.
One pro tip? Add crushed eggshells every now and then. They provide a much-needed source of calcium, which helps your worms reproduce and keeps the bin's pH level nicely balanced.
It’s this simple process that creates vermicompost, a powerhouse for enriching soil and a cornerstone of sustainable farming. In fact, its role is growing so much that you can even read the full report on the global vermicompost market at dataintelo.com to see just how big this is getting.
What to Keep Out of the Bin
Knowing what not to feed your worms is just as important as knowing what they love. Throwing the wrong stuff in there can create nasty smells, attract pests like flies and rodents, and even harm your worm population.
A good rule of thumb is to avoid anything oily, greasy, or heavily processed. That means no meat, fish, or dairy products—they rot quickly, smell terrible, and create a toxic environment for your worms.
It's also wise to go easy on highly acidic foods like citrus peels and onions. A little bit is fine, but too much can irritate your worms and throw the bin's chemistry out of whack.
The key is balance. A varied diet of approved foods will keep your worms healthy and your bin running smoothly. If you're ever unsure about an item, it's always safer to leave it out.
To make it even simpler, here’s a quick-reference chart to help you decide what goes in the bin.
Worm Food Menu Dos and Don'ts
| Feed This (The 'Do' List) | Avoid This (The 'Don't' List) |
|---|---|
| Fruit & Vegetable Scraps (non-citrus) | Meat, Fish, and Poultry |
| Coffee Grounds and Paper Filters | Dairy Products (milk, cheese, yogurt) |
| Tea Bags (paper, staple-free) | Oily or Greasy Foods |
| Crushed Eggshells (for calcium) | Heavily Processed Foods |
| Shredded Cardboard & Newspaper | Large Amounts of Citrus & Onions |
| Dried Leaves & Plant Trimmings | Pet Waste |
Keeping this simple menu in mind is the easiest way to guarantee your vermicomposting journey is a success.
For a more complete rundown, our guide on what you can compost at home offers a fantastic list of items you can safely add to your bin.
Answering Your Top Vermicomposting Questions
Diving into something new always brings up a few questions, and vermicomposting is no exception. But don't let that stop you—the most common worries have surprisingly simple answers. Let's walk through what new worm composters often ask so you can get started with confidence.
What About the Smell?
This is the number one concern, and the answer is a game-changer. Will my kitchen smell like a garbage can? Absolutely not. A healthy, happy worm bin should smell earthy and pleasant, like a forest floor after a rainstorm.
If things start to get funky, it's a clear signal that something is off-balance. In 99% of cases, the culprit is overfeeding or adding the wrong foods (like meat or dairy). The fix is simple: remove the offending items, gently aerate the bedding, and pause feeding for a week. Your bin will return to its sweet, earthy scent in no time.
How Do I Know When the Compost Is Ready?
You don't have to guess; your bin will show you when it's time to harvest your "black gold." The finished compost at the bottom will be dark, rich, and crumbly, with a texture like coffee grounds. You won't be able to recognize the original food scraps or bedding.
Harvesting is easy. Just move the finished compost to one side of the bin and add fresh bedding and food to the other. The worms will naturally migrate toward their new food source over a couple of weeks, leaving you to scoop out the incredible, nutrient-packed compost they’ve left behind.
Remember, vermicomposting isn't just a process; it's about nurturing a tiny ecosystem. You'll quickly learn to read your bin and respond to its needs. It’s far more intuitive than you might think and incredibly rewarding.
Are Other Bugs in the Bin Okay?
Don't be surprised if you find other tiny critters sharing the space with your worms! It's completely normal—and even beneficial—to see little white mites, springtails, or even smaller pot worms.
These creatures are part of the cleanup crew. They are decomposers, just like your worms, and help break down bits of organic matter that are too small for the worms to handle. Seeing them is a sign of a healthy, diverse bin. The only time to worry is if their populations explode, which, again, usually points back to overfeeding or the conditions being too acidic. Keep your feeding in check, and you'll keep the whole system in a happy, healthy balance.
At terravera, we're all about making composting simple and accessible for everyone. Our compostable bags are a perfect partner for your kitchen, making it a breeze to collect food scraps for your new worm bin. Ready to start your journey and make a real difference? Explore our products and learn more at https://www.myterravera.com.