
How to Use Castor oil for Hair Growth: The Definitive Guide
When you're ready to unlock real hair growth with castor oil, the journey begins at your scalp. This isn't just another trend; it's a proven method. Your goal is a targeted scalp treatment 1-2 times per week. Why? Because this is how you deeply moisturize your scalp, extinguish inflammation, and fortify every strand right from the root. This is the secret to stopping the frustrating breakage that makes you feel like your hair just isn't growing.
For transformative results, you must work a small amount directly into your roots, give yourself a powerful scalp massage, and let this potent oil sit for at least 30 minutes before washing it out thoroughly. This is the commitment that delivers.
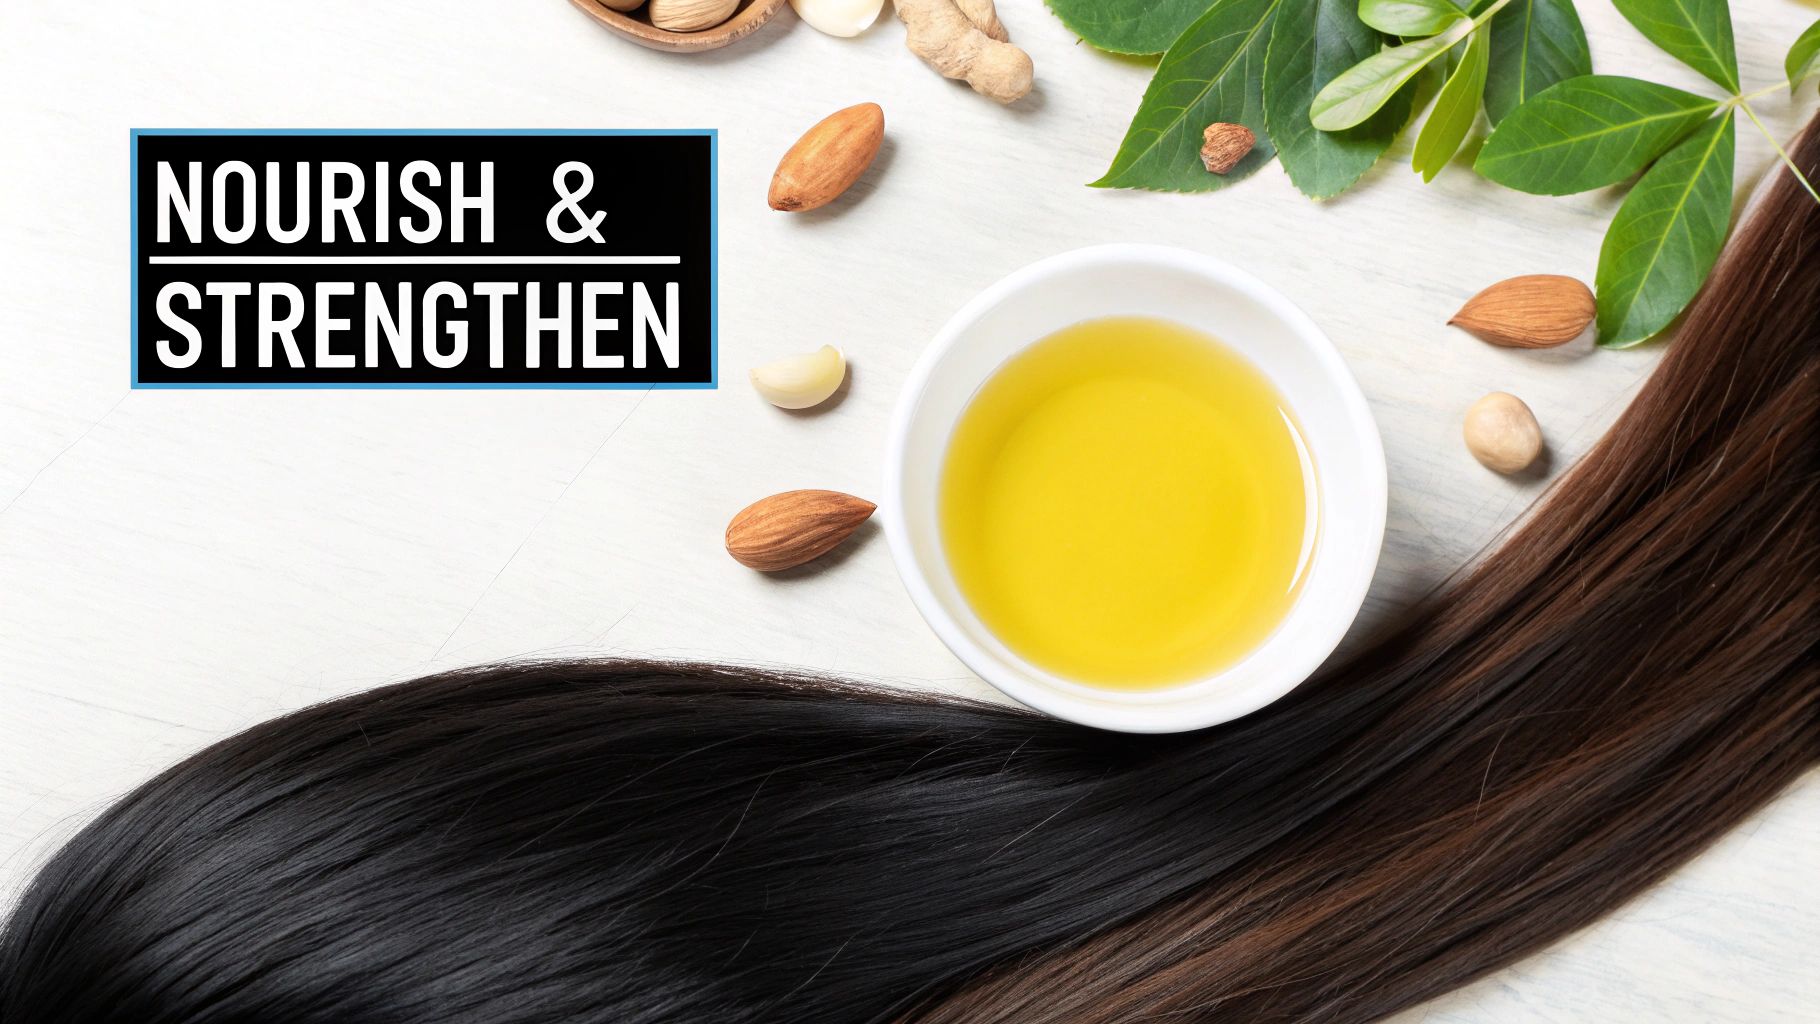
What Castor Oil Genuinely Does for Your Hair
You've seen the incredible claims online—people swearing castor oil gave them inches of new hair seemingly overnight. It's time to understand exactly what this thick, powerful oil can—and can't—do for you. This isn't a magic potion that will suddenly sprout new hair follicles where none exist.
Instead, you need to think of it as a super-powered, all-natural growth-enabling conditioner. Its true power lies in creating the absolute perfect environment for the hair you already have to grow long, healthy, and resilient. If your scalp is inflamed or your hair is brittle and breaking, reaching your length goals is nearly impossible. Castor oil attacks these problems at their very source.
The Science of Unbreakable Hair
The secret to castor oil's profound effect is its unique chemical profile. It's composed of about 90% ricinoleic acid, a fatty acid you simply won't find in significant amounts in other plant oils. This is the very component celebrated for centuries across cultures for cultivating healthier, more resilient hair.
This unique acid is precisely what gives castor oil its legendary benefits:
- Soothing Inflammation: Ricinoleic acid is a powerhouse at calming an irritated scalp. When your scalp is inflamed, it throttles follicle function. A healthy scalp is the non-negotiable first step to exceptional hair.
- Deep Hydration: The oil is a phenomenal humectant, meaning it pulls moisture in and locks it down. It forms a protective shield along the hair shaft, defending it from the ravages of dryness and damage.
- A Cleaner Scalp: It also boasts potent antimicrobial properties, which actively fend off common scalp issues that are known contributors to hair loss or stunted growth.
By tackling these core issues head-on, castor oil fortifies your hair from the inside out. To truly grasp its power, explore more about is castor oil good for your hair and witness how it revolutionizes overall hair health.
Setting Realistic, Powerful Expectations
So, what should you really expect to see? Forget a sudden, unnatural growth spurt. Instead, you'll first notice your hair feels fundamentally stronger and looks intensely shinier. Over time, you’ll see a dramatic reduction in breakage and split ends. It’s this prevention of damage that finally allows your hair to retain its length, making it appear fuller, thicker, and truly longer.
This is the key: Castor oil doesn't just make your hair grow faster. It empowers your hair to grow longer by shielding it from the daily wear and tear that leads to trims and breakage. It’s about protecting the hair you have so it can reach its full, spectacular potential.
Ultimately, the journey to longer hair is a commitment to health and preservation. Castor oil is your most powerful tool in this process, nurturing the scalp and strengthening every single strand. This creates the unshakeable foundation you need, making it an essential for anyone serious about using castor oil for hair growth.
Choosing the Right Castor Oil for Your Hair Type
 Walking down the oil aisle, you're faced with a critical choice: which castor oil is the right one? It can feel overwhelming, but selecting the right type is the single most important first step you will take. The oil you choose absolutely dictates the results you will achieve.
You’ll mainly see two options on the shelf: cold-pressed castor oil and Jamaican black castor oil (JBCO). They both originate from the same castor bean, but their processing method changes everything, creating two distinct oils engineered for very different hair needs.
Cold-Pressed vs. Jamaican Black Castor Oil
So, what's the real difference? It all boils down to heat.
Cold-pressed castor oil is extracted from raw castor beans using a mechanical press, with absolutely no heat. This gentle process ensures the oil retains virtually all of its natural nutrients. The result is a clean, pale yellow oil with a thinner consistency, making it a fantastic all-rounder, especially for those with finer hair that gets weighed down easily.
On the other hand, Jamaican black castor oil earns its signature dark color and thicker feel from a more intense, traditional process. The beans are roasted first, then crushed and boiled. The ash from the roasting process is incorporated into the oil, which is what gives JBCO its darker hue and earthy, smoky scent. This ash is why so many swear by it; it's believed to enhance the oil’s clarifying and cleansing properties, making it the undisputed champion for detoxing the scalp and annihilating buildup.
To help you decide, here's a direct comparison of the two leading types of castor oil.
Castor Oil Comparison for Hair Care
| Oil Type | Processing Method | Best For | Key Feature |
|---|---|---|---|
| Cold-Pressed | Beans are pressed without heat | General conditioning, fine or thin hair, moisturizing | Lighter consistency, higher in nutrients, less potent scent |
| Jamaican Black | Beans are roasted, then boiled | Deep scalp cleansing, thick or coarse hair, stimulating follicles | Thicker consistency, alkaline due to ash, clarifying properties |
Ultimately, the choice between them depends entirely on your hair and your ambition. If you want to dive deeper into how each one works its magic, our guide on the amazing benefits of castor oil for hair is required reading.
What to Demand on the Label
No matter which type you choose, quality is non-negotiable. A cheap, poorly produced oil will not deliver the results you seek and could even cause irritation. You must always take a moment to read the label.
The definitive rule is to look for oils that are labeled "100% pure," "organic," and "hexane-free." This is your guarantee that you're getting a clean, potent product without any chemical solvents, pesticides, or useless fillers that could irritate your scalp.
Getting this choice right from the start makes all the difference. Whether you opt for the lightweight purity of cold-pressed oil or the deep-cleansing power of JBCO, a high-quality product gives your hair its best shot at thriving.
The Best Way to Apply Castor oil for Hair Growth
You've selected your high-quality castor oil. Now for the most critical part: applying it to your hair and scalp correctly. This is where the real transformation occurs. Trust me, simply dumping this thick, sticky oil on your head will only lead to a greasy, frustrating mess and a lot of wasted product.
The secret to using castor oil for hair growth isn't just what you're using, but how you're using it. Let's walk through the exact routine I've perfected—one that makes the oil easy to work with and ensures every single drop is working overtime for you.
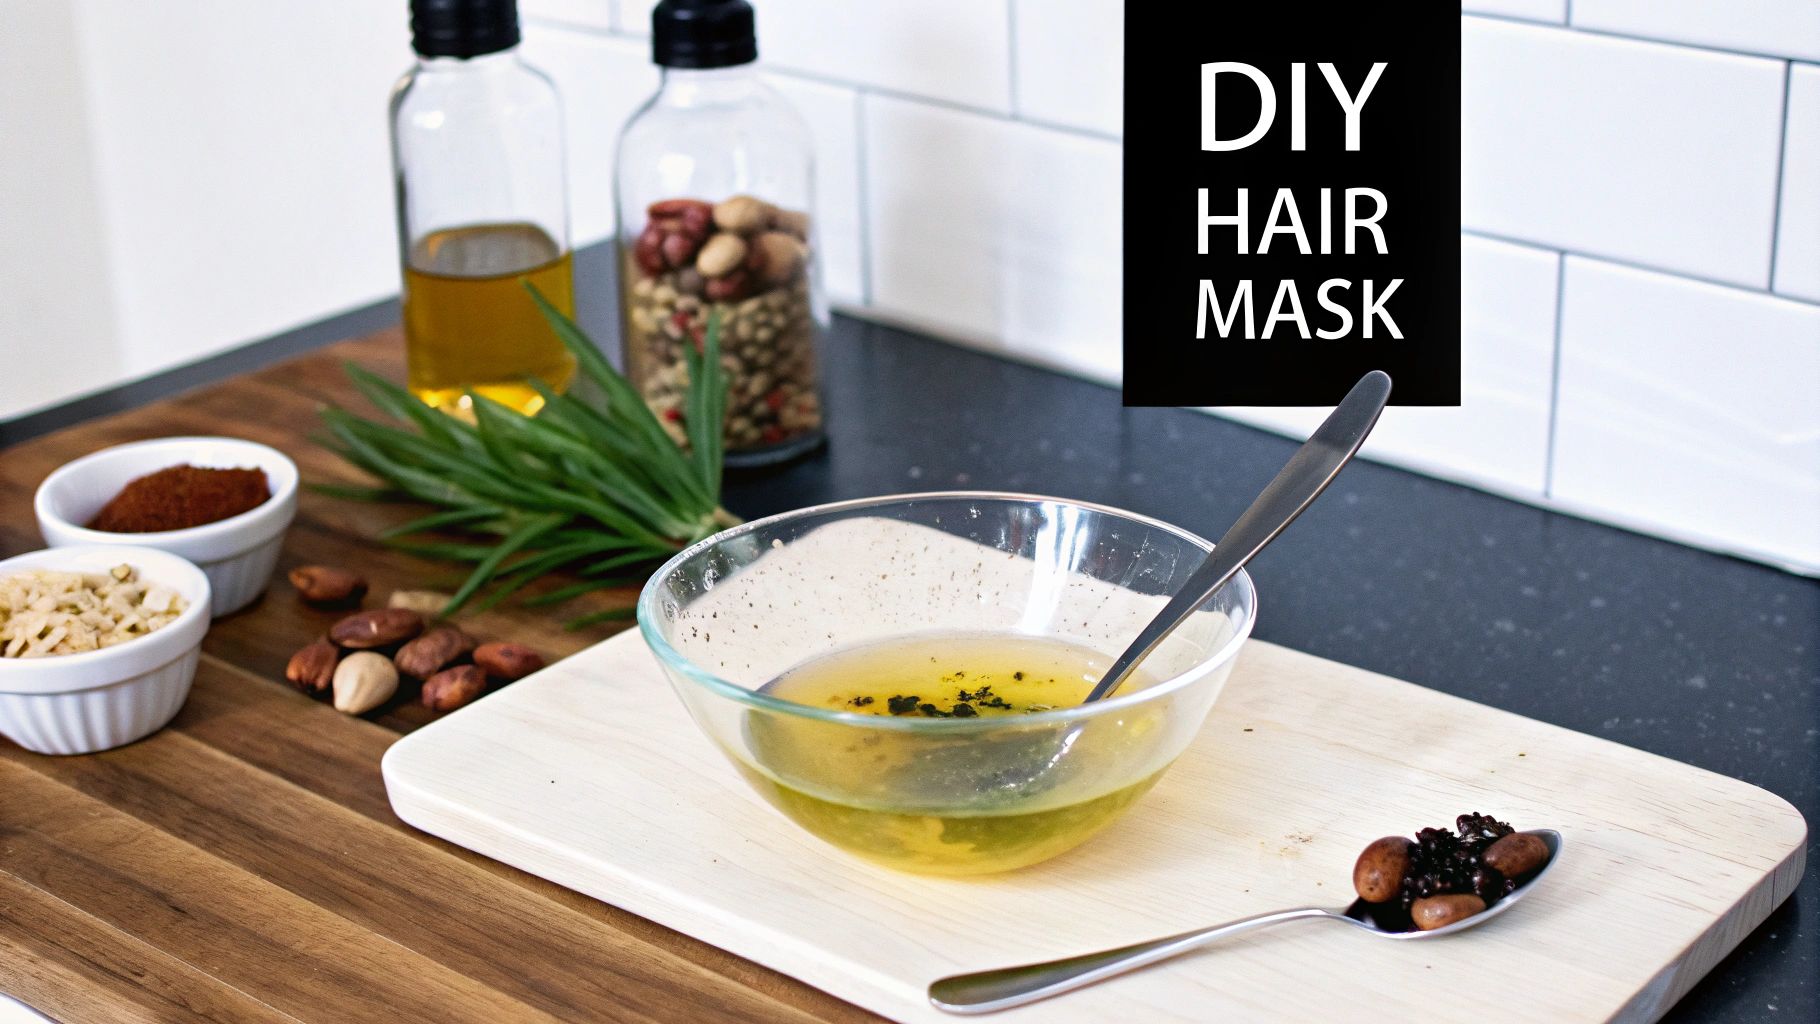
The Power of a Perfect Blend
Pure castor oil is seriously thick. Trying to spread it evenly is a genuine challenge. My number one piece of advice? Never use it straight from the bottle. You must create a custom blend by mixing it with a lighter carrier oil. This one small step is a total game-changer.
Mixing it doesn't just make the castor oil smoother and easier to apply; it also synergizes its unique benefits with another nourishing oil. Plus, it makes washing it out incredibly easier.
- For Dry or Coarse Hair: A blend with coconut or olive oil will deliver an unparalleled dose of deep moisture.
- For Fine or Oily Hair: You'll want to mix it with a lightweight oil like jojoba or grapeseed. They won't weigh your hair down.
- For a Soothing Boost: Add a few drops of peppermint or rosemary essential oil into your mix. The sensation is incredible and it powerfully invigorates the scalp.
An excellent starting point is a one-to-one ratio—one part castor oil to one part carrier oil. Feel empowered to experiment with this. If the mix still feels too thick for your liking, simply add a bit more of your carrier oil until it feels perfect. For more game-changing ideas on creating your ideal hair treatment, our guide on using castor oil for hair growth has the advanced tips you need.
Mastering Your Application Technique
Once your custom blend is ready, it’s time for application. The key here is to be strategic. You must focus on two areas: your scalp (for growth) and your strands (for protection).
I find it works best on dry or slightly damp hair. Begin by parting your hair into small, manageable sections with your fingers or a comb. This allows you to get the oil exactly where it needs to be—on the scalp—instead of just slicking it over your hair.
Using a dropper bottle or just your fingertips, dab the oil mixture along each part. And remember this: a little goes a very long way. You are aiming for a light, nourishing coating on the scalp, not a drenched look.
After you've covered your scalp, it's time for what I consider the most critical step: the massage.
This isn't just about feeling good; it’s an essential part of the process. Gently massaging your scalp physically stimulates blood flow to the hair follicles. Better circulation means more nutrients are delivered right where they’re needed for healthy, accelerated growth.
The whole process is simple but must be deliberate. Each step builds on the last.
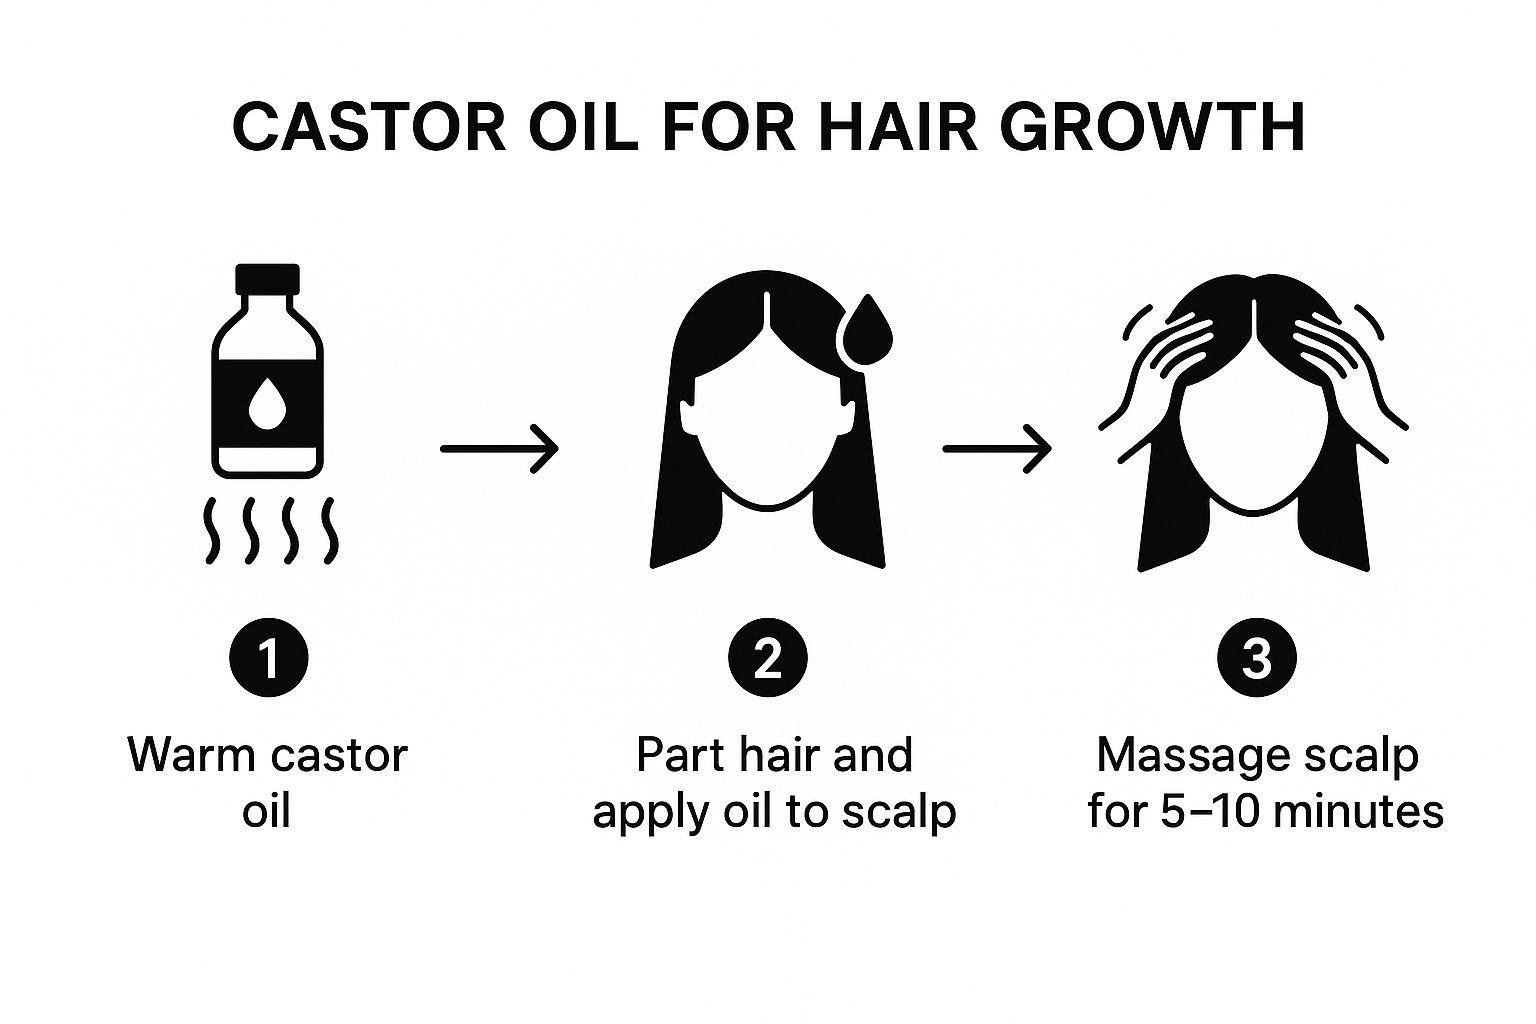
As the visual proves, it's a multi-step routine, and that scalp massage is the final, powerful action that truly kicks things into high gear by boosting circulation.
There’s solid science to back this up. The ricinoleic acid in castor oil is known to stimulate specific receptors in the scalp that help dilate blood vessels. This is the mechanism that helps increase the flow of oxygen and nutrients to your follicles, creating the optimal environment for hair to grow.
How Long Should You Leave It In?
After a thorough scalp massage, take whatever oil is left on your hands and work it through the lengths of your hair. Pay special attention to your ends—this seals in moisture and fights off those dreaded split ends.
Now, you just let it sit and work its magic. How long you leave it in depends on your hair and your schedule.
- A Quick Boost (30-60 Minutes): If you're pressed for time, even half an hour is enough for the oil to begin penetrating your scalp and hair shaft.
- A Standard Treatment (2-4 Hours): This is the sweet spot for most people. It gives the oil ample time to deep condition without the inconvenience of sleeping with it in.
- An Overnight Deep Condition: For anyone with very dry or damaged hair, leaving it in overnight provides maximum hydration. Simply put on a silk bonnet or shower cap to keep your pillows pristine.
Following a structured approach like this ensures you get all the astonishing benefits of castor oil without the hassle, setting you up for stronger, healthier hair.
Finding Your Sweet Spot: How Often to Use Castor Oil
One of the most frequent questions I hear is, "How often should I actually be doing this?" Everyone wants to see results fast, but when it comes to castor oil, more is not better. Consistency is the true secret weapon.
If you overdo it, you'll end up with greasy buildup and limp, suffocated hair. The goal is to find a rhythm that deeply nourishes your hair without smothering it. It’s all about listening to what your hair and scalp are telling you.
Think of it like tending to a prized plant. Too little water and it becomes brittle; too much and its roots will rot. Your hair demands that same perfect balance to truly flourish.
A Starting Point for Your Routine
For most people, a weekly treatment is the ideal place to start. It’s frequent enough to deliver a steady, potent stream of nutrients to your scalp and follicles but gives your hair ample time to breathe between applications.
Consider this your baseline. Commit to it for a few weeks, assess how your hair responds, and then you can fine-tune it from there.
- For Very Dry, Thick, or Coily Hair: Your hair is naturally thirsty and can handle more intensive care. You will likely find that increasing your treatments to twice a week provides the extra dose of moisture you need to conquer dryness and keep your coils vibrant and defined.
- For Fine or Oily Hair: The last thing you want is to weigh your hair down. A weekly treatment might be too heavy. Instead, apply castor oil every 10 days or even once every two weeks. This schedule delivers all the strengthening benefits without making your roots feel like an oil slick.
How to Tell What Your Hair Needs
Your hair will give you clear signals, I promise. After a few consistent treatments, take a moment to truly assess it. How does it feel? How does it look? This is how you customize your routine for astonishing results.
You'll know you're on the right track when you see these signs:
- Your hair feels fundamentally softer and has a vibrant, healthy-looking shine.
- You are no longer fighting with frizz and flyaways.
- Your scalp feels calm and hydrated, not tight or itchy.
On the other hand, if your hair feels perpetually greasy, looks lifeless even right after washing, or you can feel buildup on your scalp, that's an unmistakable signal to dial it back. You are using it too often.
Do not be afraid to adjust. Finding that perfect frequency where your hair feels strong, nourished, and balanced is the ultimate goal. This isn't a race; it's a long-term commitment to your hair's health. Tweaking your schedule is a crucial part of making the routine truly work for you.
Common Castor Oil Mistakes and How to Fix Them
You're ready to begin your castor oil journey. That's fantastic. But before you dive in, we must address a few common mistakes that can turn a powerful hair treatment into a greasy, frustrating ordeal.
The good news is that these slip-ups are incredibly easy to sidestep once you know what they are. Getting these details right from the very beginning will make all the difference in your success.
Using Far Too Much Oil
This is, without a doubt, the number one mistake people make. Castor oil is incredibly thick and viscous, which makes you think you need a ton of it for good coverage. In reality, slathering it on is the fastest way to get weighed-down hair and clogged pores.
Trust me, more oil does not mean better or faster results. It just means you'll have a miserable time trying to wash it out. A small amount goes a very long way.
Key Takeaway: You are not trying to saturate your hair until it's dripping. The goal is a light, nourishing sheen on your scalp. If you've blended castor oil with a thinner carrier oil, you will likely only need a few droppers full for your entire scalp. Internalize the mantra: "less is more."
The Wrong Washing Technique
You've let the oil work its magic, and now it's time to rinse. Most people hop in the shower, drench their hair with water, and then reach for the shampoo. This is a classic mistake.
Here’s the science: oil and water repel each other. When you wet your hair first, you're creating a barrier that prevents the shampoo from breaking down the oil. The result? A stubborn, greasy film that refuses to budge.
Let me share a game-changing technique for a clean rinse every single time:
- Apply shampoo to dry (oily) hair. Before a single drop of water touches your head, work a generous amount of shampoo directly onto your oily scalp and through your hair.
- Massage it in. Really work the shampoo in to start dissolving the oil before introducing water.
- Slowly add water. Now, add just a small amount of water to build up a rich lather.
- Rinse and repeat. Rinse everything out completely. You will almost certainly need a second round of shampoo to eliminate any last traces of oil.
This method allows the shampoo's cleansers to grab onto the oil molecules directly, lifting them away cleanly and leaving your hair feeling fresh and revitalized, not greasy.
Skipping the Crucial Patch Test
I understand—when you get your new bottle of oil, you're excited to start. But you must not skip the patch test. This is especially critical if you have sensitive skin. Even though castor oil is natural, it can still cause allergic reactions or irritation for some people.
A quick patch test is your best insurance policy.
Just dab a tiny amount of the oil (or your blend) on a hidden spot of skin, like behind your ear or on your inner arm. Wait a full 24 hours. If you see no redness, itching, or irritation, you are clear to proceed. It's a simple, one-time check that ensures your path to healthier hair is a comfortable and safe one from the very start.
Your Questions About Castor Oil for Hair Answered
Even after you've mastered the routine, a few questions always arise. That’s perfectly normal. Let's tackle the most common ones I hear so you can begin your castor oil journey with total confidence and a clear vision of what to expect.
Getting straight answers empowers you to build a routine that truly works for your hair and your goals, without any guesswork.
Can Castor Oil Regrow Hair on Bald Spots?
This is the ultimate question, and it deserves a direct answer. Castor oil is not a miracle cure that can magically sprout new hair follicles on a completely bald spot. If the follicles in an area are dormant or gone, no oil can resurrect them.
But here’s what it can do, and this is where its true power lies. Castor oil is incredible at nourishing the scalp and strengthening the fine, vellus hairs (or "baby hairs") that might still exist in thinning areas. By making these existing hairs thicker, darker, and stronger, it dramatically reduces breakage. Over time, this makes thinning patches look significantly fuller and denser.
So, while it's not creating new hair, it's protecting and thickening the hair you already have to an incredible degree.
Is It Okay to Leave Castor Oil in Your Hair Overnight?
Absolutely. For many people, especially if you have very dry or damaged hair, an overnight treatment can be a revolutionary experience. It gives the oil the maximum time to penetrate the hair shaft and work its deep moisturizing magic on your scalp.
If you decide to do it, just follow these rules:
- A little goes a long way. You only need a light coating. Drenching your hair will just lead to a greasy pillow and wasted product.
- Focus on the scalp and ends. These are the areas that crave the most attention.
- Protect your sheets! This is non-negotiable. Wear a shower cap or a silk bonnet, or at the very least, wrap your pillow in a towel.
Just be certain to wash it out thoroughly the next morning. If your hair is on the finer or oilier side, an overnight treatment might be too much. Stick to a shorter 1-2 hour treatment instead for optimal results.
The most important takeaway is to be patient and consistent. While you will feel your hair is softer after just one or two uses, the profound benefits for hair strength and shine demand time and dedication.
How Long Does It Take to See Results?
This is a marathon, not a sprint. While your hair will likely feel softer and more hydrated almost immediately, the real, tangible changes in strength, shine, and reduced breakage take commitment. You are looking at a minimum of 2-3 months of consistent weekly use to see foundational changes.
Remember, hair grows in cycles. You must stick with the routine long enough to impact the new hair that's growing in. Everyone's hair is different, so your results will depend on your hair type, its current condition, and how dedicated you are to the process.
Ready to give your hair the nourishing foundation it deserves? Explore our terravera collection of premium, all-natural oils and start your journey to stronger, healthier hair today. Discover the perfect oil for your routine at myterravera.com.